meta data for this page
Cutout Editor
The Cutout Editor is a tool that allows you to create your own meshes for a material without having to use an outside program. In the Cutout Editor, there are many controls that can help you achieve high-detail meshes as well as optimized meshes for game assets.
Access this editor by clicking the Edit button in a particular mesh asset. If you have applied a mesh to a material (or wish to create a new mesh for a particular material), you can also use the shortcut Edit button in that material asset.
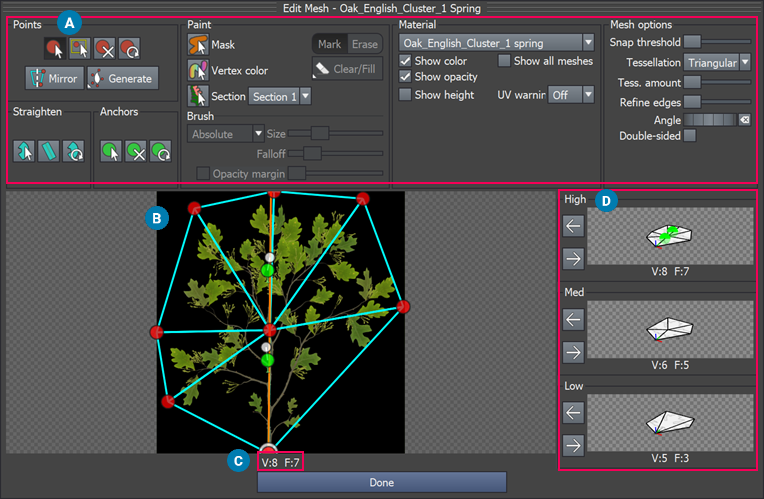
A: The Toolbar contains all high-level controls for editing the cutout.
B: The editing window displays and lets you manipulate the cutout’s geometry.
C: The total number of vertices (V) and faces/polygons (F) in the cutout.
D: The LOD selector lets you save different versions of the mesh. High is the regular place to save the mesh data, but you might want to make lower quality meshes for use with LOD or Resolution.
Points
The Cutout Editor allows you to add, move, and delete vertices in the mesh. Triangulation between these points is automatic. If you are editing a mesh for a material with an opacity channel, any completely transparent triangles will be removed automatically.
Pivot point
The pivot point is a special point in the mesh that is displayed as white. This point cannot be deleted, but it can be moved. Its position is used as the origin of the mesh.
To keep the same pivot point in different LOD levels, right-click in the editing window and select Copy pivot from High.
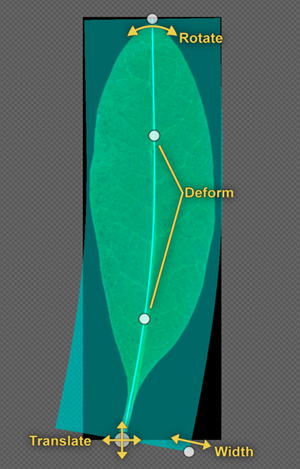
Straighten
Straighten mode in the Cutout Editor allows you to deform the texture UV space to remove any curvature from source textures, which might have been made with photogrammetry or photometry. The meshes made in this straightened area will behave better when procedurally deformed on the tree.
To adjust the UV space in Straighten mode, use the following controls:
- Move the space with the largest point at the bottom of the mesh.
- Rotate the space with the top point.
- Deform the space by moving the two central points, which bend the centerline of the area.
- Change the width with the corner point.
Ensure the centerline of the area is placed along the center of the texture, however it bends. With the centerline positioned correctly, Straighten works very well with the Mirror option when adding points.
To keep the same Straighten position in different LOD levels, right-click in the editing window and select Copy Straighten from High.
Straighten mode also acts like a focus tool for a large atlas of textures. With Straighten, you can focus on the small part of the atlas you want to work with then use the Generate options to generate a mesh in the straightened area.
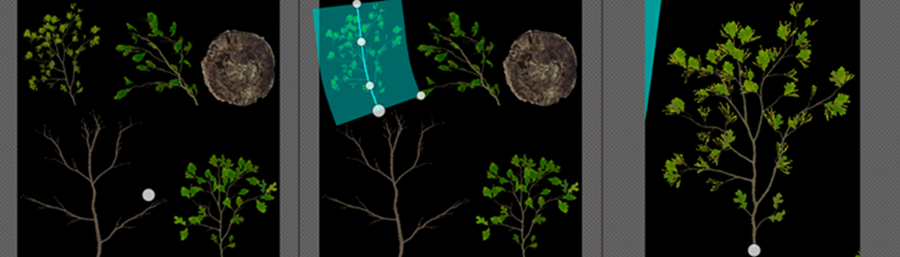
The left image displays a texture atlas in the Cutout Editor. The center image displays the Straighten tool positioned over a small area of the atlas. The right image displays the Cutout Editor focused on the straightened area.
UV warnings
When the texture is deformed in Straighten mode, there might not be enough points in the mesh to represent that deformation accurately. The UV warning options let you set the threshold for warning when the deformation is not being accurately represented. UV warnings also indicate if the texture below an anchor will not be accurately represented, which could cause children attached at that anchor to look disconnected.
With UV warnings enabled, a yellow overlay displays in any problem triangles. The overlay demonstrates how the texture will be applied to the mesh in its current state. To fix UV problems, add more points to the mesh or change the spacing of the existing points to better capture the curvature.
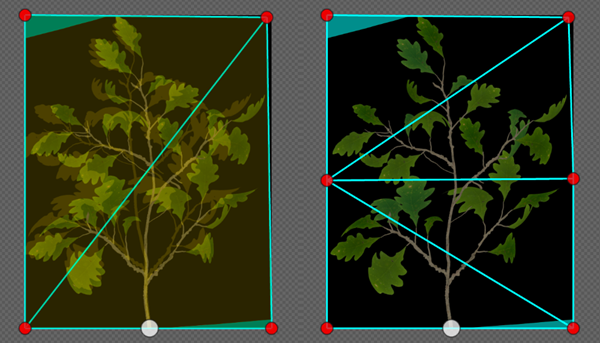
In the left image, a UV warning displays on a mesh that doesn’t have enough vertices to display the curvature accurately. In the right image, enough vertices are added to the mesh and no UV warning triggers.
Anchors
The Cutout Editor allows you to add or edit mesh anchor points for where children will grow.
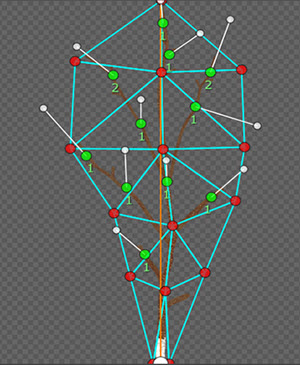
Anchors have both a position and a direction of growth. To change the direction of growth, drag the white dot connected to the anchor.
The number next to the anchor specifies the ID of the type of child the generator will create on that anchor, depending on generation properties. To change the ID, right-click on the anchor.
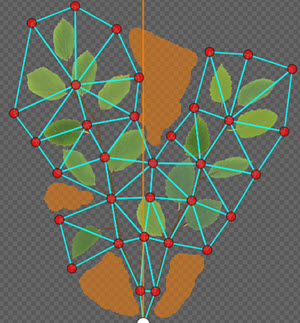
Masks
Paint a mask to remove triangles from the mesh. If the material has an opacity map, transparent triangles will be automatically removed, without the need for a mask.
Sections
Sections let you identify subsections of a Frond mesh that you can then manipulate individually. Sections work together with the Section Variance properties in the Frond generator. For more information, refer to Manipulate mesh sections.
LOD selector
Once you have created a mesh, you still need to save it to the mesh asset. Select High, Med, or Low to store the mesh data in the corresponding mesh level. High is the regular place to save the mesh data, but you may want to make lower quality meshes for use with LOD or Resolution.