meta data for this page
This is an old revision of the document!
Displacement
Displacement, located in Freehand Mode, gives you the ability to carve, shape, and mold features onto a model’s trunk or branches; create gnarled roots, knobby knots, and custom textures wherever you want them.
Note: Displacement edits will remain regardless of changes to the model’s resolution.
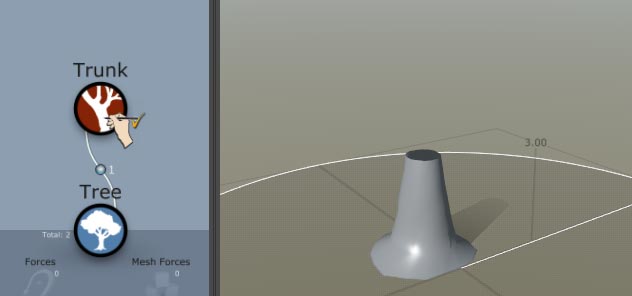 (need pretty displacement gif here)
How to Use Displacement
Follow these steps to get started with displacement.
- In Freehand Mode, select any Branch generator, then select Displacement in the Properties Window. The Displacement Brush will appear on your selection.
 (need displacement icon pic here)
 (need displacement brush pic here)
- Drag the outer ring to adjust brush size.
- Drag the inner ring to adjust brush falloff.
- Drag the blue dot along the adjacent bar to adjust brush strength.
- Hold “Space” to perform the selected paint action described below.
Bend Properties
 (need bend properties pic here)
Brush Size Slider
Controls the Bend brush’s length, from 0 to 1.
Brush Curvature Slider
Changes the strength of your bends. Higher values result in deeper bends, lower values will result in stiff, linear bends.
Rotate Gizmo
 (need rotate gizmo pic or gif here)
Checking Rotate Gizmo reveals a globe that allows you to quickly rotate and bend the spine.
Bend Counter
Tracks your bend actions and allows you to undo/redo them in sequence.
Clear
Removes all your bend actions.