meta data for this page
This is an old revision of the document!
Exporting to Game Formats
In game versions of the SpeedTree Modeler, you can export to a selection of game editor formats. These exports differ from static mesh exports in that the geometry is batched and optimized for real-time rendering, texture atlases are created to allow fewer draw calls, and billboard impostors are rendered for use with LOD. To begin an export, go to File > Export to game.

Formats
Currently, the exporters for Unreal Engine 4, Unity, and Lumberyard all use this dialog, as well as the SpeedTree SDK for custom game integrations. You can also export trees prepared in this style to a few static mesh formats, such as FBX, OBJ, USD, and raw XML.
Game Presets
You can choose a game preset to simplify the export process and make sure the export settings are correct for the format. You can also make your own presets by saving the dialog settings into the <app>/export_to_game_presets/ directory.
| Preset | Description |
|---|---|
| Standard | Optimizes the export for the SpeedTree SDK or static mesh formats. |
| UE4 | Optimizes the export for Unreal Engine 4. |
| UE4 (one draw call) | Optimizes the export for Unreal Engine 4 and limits it to one draw call. |
| Unity | Optimizes the export for Unity. |
| Unity (one draw call) | Optimizes the export for Unity and limits it to one draw call. |
Combine
These options are only available when more than one SpeedTree file is open in the Modeler.
| Property | Description | |
|---|---|---|
| Combine all open models into the same atlas | Export all open files in the Modeler and combine them into the same atlas. | |
| Atlas name | Assign a root name to the exported atlases. | |
| Tree filenames | Set a naming convention for the exported model files. | |
| Sequential | All model files have the same root name as the current file and are numbered in sequence. For example, OakTree_1 and OakTree_2. | |
| Tree name | All model files have the same name as their original .spm file. | |
LOD
These options set which type of geometry from the tree to include: the fully 3d geometry LODs, the billboard LOD, or all of it.
Geometry LODs are what you are editing when you make a tree. You can adjust the number of LODs, how the tree changes as it goes down in LOD, and the smoothness of these changes. Please see the Level of Detail section for more information.
If you enable billboards to be exported, one new LOD is added at the end of the LOD transition. This LOD is a very simple mesh made of pictures of the tree rendered from different views. These billboard pictures are all placed into a billboard atlas. All the same material maps that are exported for regular geometry are exported for billboards, so it can fit into your normal rendering pipeline. The game engines handle removing the views that are not facing the camera, and you are left with a simple picture of the tree in the distance. With this method, you can have very dense forests at real-time speeds.
Include
This section of the dialog features options for extra things that may be included during export.
Variations
Variations may be set up in the material. This option enables the processing of variations on export. Instead of requiring the final game engine to have shader code that does the variation, the exporter will simply make new materials and textures with the variation information baked in.
Note: Variations should be used sparingly on real-time SpeedTree models to avoid too much extra texture space being used. If atlassed, the variations of a material will take up multiple places in the atlas. If not, additional textures will be made.
Vertex blends
Vertex blending is used on small pieces of geometry that need to blend, such as the intersection of a branch to its parent or stitches to a parent mesh. This is done using vertex alphas to fade it out. If the engine does not support per-vertex alphas, or if z-buffer problems are causing the seam blends to flicker, then you may disable this. Even without per-vertex alphas (and thus a hard line where the material changes), the blend pieces usually add to the realism of the tree by hiding the actual branch intersection.
Leaf references
Leaf References are null objects in the correct position and orientation for each leaf. These can be used to populate the leaves with higher quality meshes at runtime, or perhaps for use with mesh instancing.
Bones/Skeleton
Some formats, such as FBX, allow you to include bone weighting for further deformation.
Atlas
Atlassing is the most important aspect of preparing a tree for real-time rendering. Putting multiple materials into the atlas allows the geometry that uses them to be merged, resulting in fewer draw calls. With aggressive merging, you can make an entire tree that renders in one draw call.
| None | This option does not make an atlas. Each material will export its textures separately |
| Non-Wrapping | This option looks at the geometry using each material. If the UVs on the geometry fit within 0-1, then its material will be put into the atlas. Geometry that uses wrapping UVs or otherwise has UVs outside of 0-1, such as branches, will be exported as separate textures |
| Everything | This option puts every material in the entire tree into the atlas. Any geometry that has UVs outside 0-1 will be unwrapped before going into the atlas. Without being cognizant of this, you could end up with a suboptimal atlas layout. Enabling V-wrapping (see below) helps branches to not take up so much of the atlas when their UVs are outside 0-1. |
Allow separate atlases
If you have set materials to go into different atlases on the material asset bar, this option can let you enable or disable that functionality.
Allow V wrapping
When geometry has UVs outside 0-1, they need to be unwrapped in order to be placed in the atlas. If they aren't, these UVs may start referencing the textures surrounding its material in the atlas. However, some things may wrap UVs a lot, such as branches. If these were unwrapped and placed in the atlas, they would be so much bigger than everything else, it would result in a suboptimal atlas layout. Also, since you have a maximum billboard atlas size, you may lose a lot of texture resolution as the whole UV space is squeezed into the atlas.
This is where the V-Wrapping option can help. When enabled, anything that wraps in the V direction will get placed in the atlas such that its top and bottom edge touch the top and bottom of the atlas. Thus, V-wrapping UVs will work just fine and you keep much more of the texture resolution. You still need to be cognizant of U-wrapping, but since branches wrap a lot in V and not so much in U, this is a great feature when putting branches into an atlas.
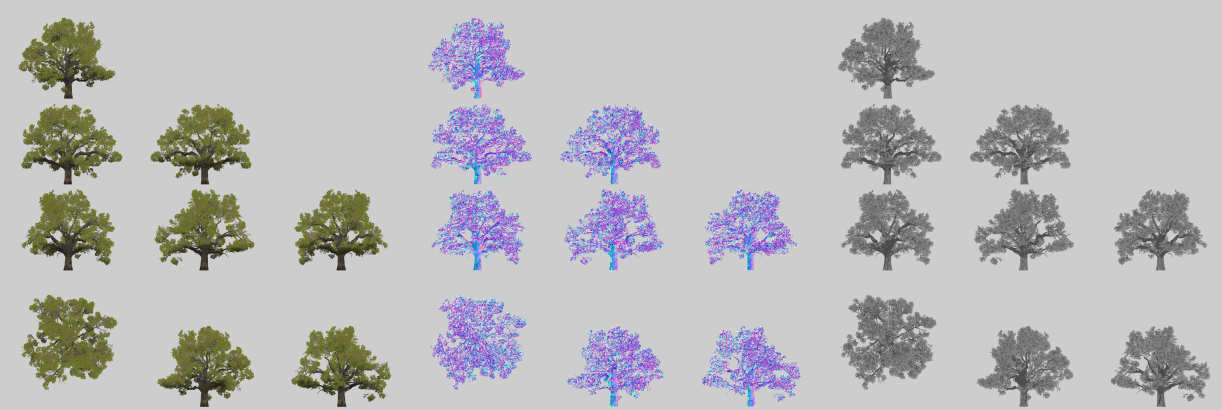
See the picture below for an example of a one-draw-call tree where everything has been placed into the atlas, utilizing V-Wrapping so as not to lose texture resolution on the branches.
Separate Materials
When placing materials into an atlas, these materials get merged together. While they use the same textures, sometimes you may want to split the materials based on a number of factors. For example, a common situation is that leaves need to be two-sided but branches should cull backfaces. Enabling “Separate Materials” will split up the materials based on the things that do not get written into the textures. For now, this is just the two-sided flag.
Ignore smooth LOD
When exporting to formats that split the geometry up for different vertex shaders (such as .ST for UnrealEngine4), smooth LOD may impact your total draw calls because leaves LOD differently from branches. If you are not using SpeedTree-style LOD with vertex morphing, you can choose to ignore smooth LOD requirements for different types of geometry and get the fewest number of draw calls.
Geometry
These options modify the output geometry, such as flipping and rotating it for a particular coordinate system. In most of the game-specific exporters, these are either disabled or pre-filled with the most common values for that particular engine.
For all file types except OBJ, there is an option to pack the vertex color how you wish it. Each channel of the final color can be set to a variety of options, to facilitate a mesh version of the tree going into your particular engine. Common setups include (R,G,B,Blend) and (R,G,B,AO).

In formats that support it, such as STSDK, this is also where you would supply the vertex packer used on tree and billboard geometry.
Textures
These options deal with the creation and writing of all the textures needed for the tree during export.
Format
This option sets the format of the exported textures. For some game engine, this format is locked to the commonly-used format (usually PNG or TGA).
Size
With the size options, you can set the size of the atlas, the size of the billboard atlas, and the max size of any other texture written.
Packing
Game exporting uses the concept of texture packing, where the material maps used in the Modeler are merged, compressed, or otherwise prepared for use in the final game engine. Every engine requires a different texture setup, and we include a number of them with the Modeler. You are able to switch between them easily, even to custom ones you write yourself.
Atlas Editing
At export time, if you are not happy with the automatically-generated atlas layout, you can edit it by clicking the button in the top right of the export dialog. If multiple atlases are being exported, you can choose which one is being displayed.

The tools for editing are translate, rotate, scale uniformly, and scale non-uniformly. Once a tool is selected, simply click on a texture in the atlas and drag the mouse to perform the action.
Note: With manual editing, it is possible to cause overlapping textures in the map, which will not work correctly in the exported file.
Exporting From the Command Line
Full SpeedTree Games also has the option to export a tree from the command line, without ever opening the GUI. The command line options are shown below.
| -h | Show help/options |
| -export_game <file> | Export the loaded spm file to the specified mesh file (fbx, obj, or abc) |
| -export_options <file> | Set options for exporting using the indicated ini file |
| <any other file> | The SPM filename to open |
The export options .ini file you can pass on the command line is the same one you can save using the button in the bottom left of the export mesh dialog. In this manner, you can use the Modeler to set up how you wish files to be exported at a later date.
Note: On Windows, if you run the .exe directly, the command line will return immediately and may not receive output from the process until it finishes in the background. If you wish to get feedback from the Modeler, use one of the following methods:
| cmd | start /WAIT <exe> <arguments> |
| PowerShell | Start-Process -Wait -FilePath <exe> -ArgumentList '<arguments>' |